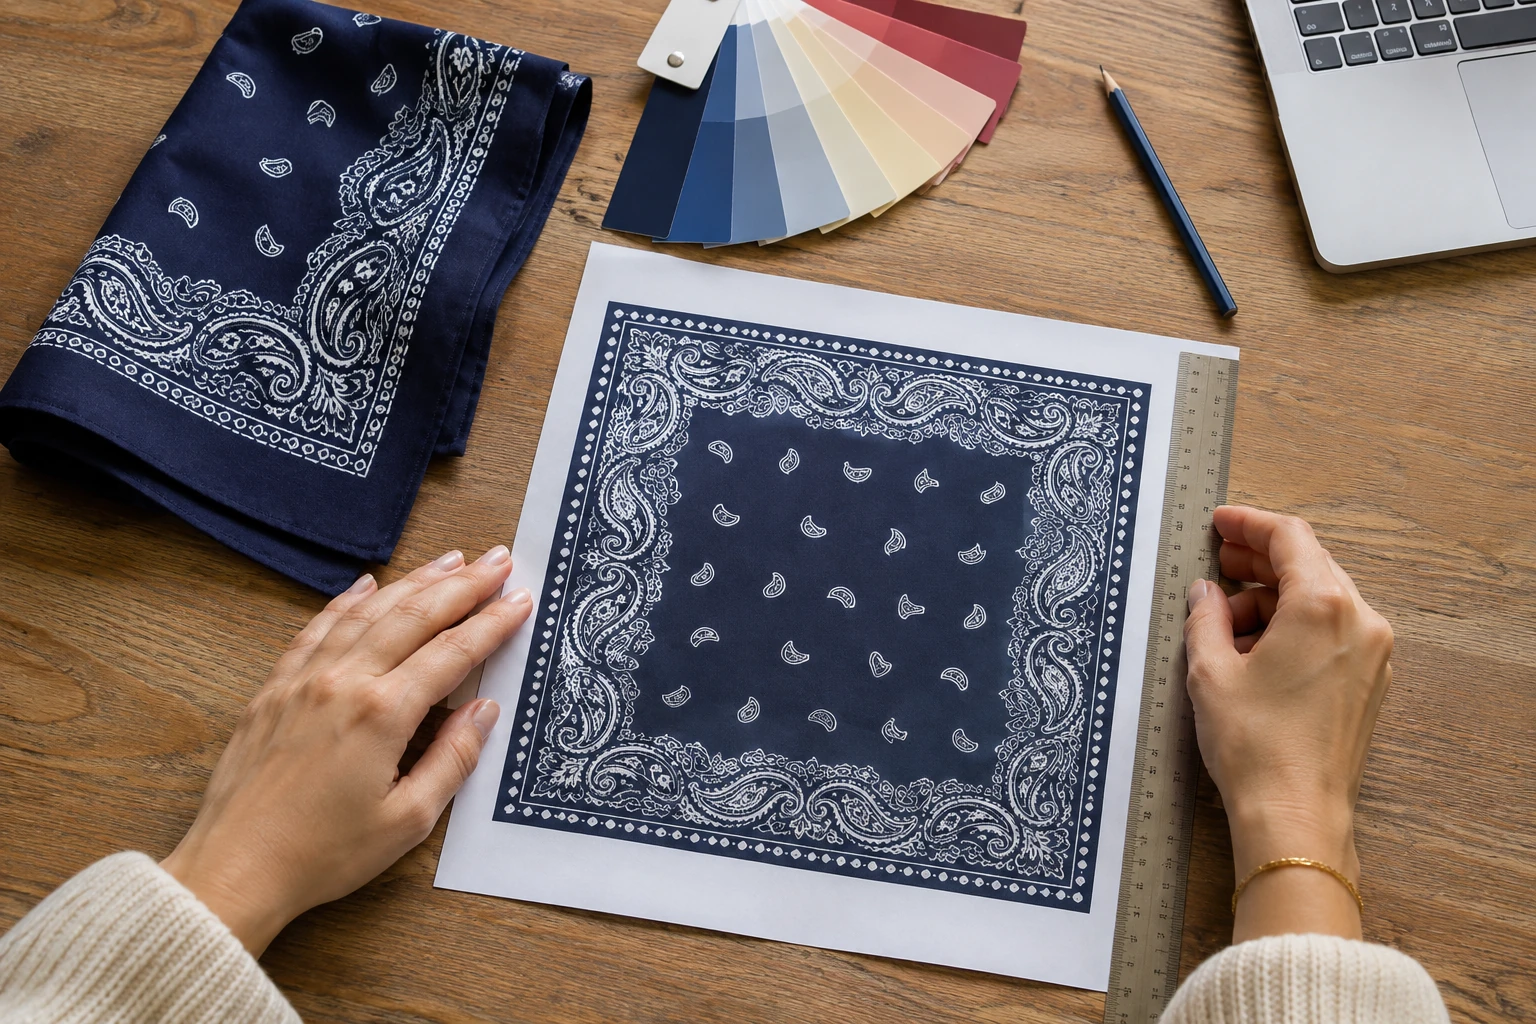
A custom bandana looks simple, but getting the artwork right takes a few measurements that most design tools do not give you: the canvas size in millimetres, the bleed, the safe zone and how the design changes when the bandana is folded and tied. Our pillar guide, bandanas explained, covers types, fabrics and uses; this guide stays with the artwork file.
It is written for brands, merchandise teams, event organisers and designers who are preparing a file for custom bandanas. We print the bandanas in Sialkot, Pakistan, on fabrics from partner mills, and the specifications below are the ones our design team usually works with. Every order is confirmed with a mockup before anything is printed.
What size should bandana artwork be?
Make the canvas the finished size of the bandana plus the bleed: usually 5 mm extra on each side. For the standard 56 cm (22 in) bandana that means a 570 × 570 mm canvas, or 6,732 × 6,732 pixels at 300 dpi.
Bandana sizes are often named in inches, but we cut and hem them to centimetres. The inch names are trade names, so a “22 in” bandana is 56 cm square, which is very close to 22 inches. Our bandana size chart explains which size suits which use; the table below turns each size into an artwork canvas.
| Bandana | Finished size | Canvas with 5 mm bleed | Canvas at 300 dpi | Safe zone (25 mm inside the edge) |
|---|---|---|---|---|
| Kids and small, 20 in | 51 × 51 cm (510 mm) | 520 × 520 mm | 6,142 × 6,142 px | 460 × 460 mm (5,433 px) |
| Standard adult, 22 in | 56 × 56 cm (560 mm) | 570 × 570 mm | 6,732 × 6,732 px | 510 × 510 mm (6,024 px) |
| Oversized, 27 in | 69 × 69 cm (690 mm) | 700 × 700 mm | 8,268 × 8,268 px | 640 × 640 mm (7,559 px) |
| Custom size | Your size | Your size + 10 mm | (mm + 10) ÷ 25.4 × 300 | Your size − 50 mm |
Pixel sizes matter only for raster artwork such as photos; vector artwork stays sharp at any scale, so draw it at the finished size in millimetres.
What are the print area, bleed and safe zone?
The print area is the part of the square that carries ink, the bleed is extra artwork beyond the cut edge, and the safe zone is the inner area where logos and text stay clear of the hem. Together they keep the design looking intended after cutting and hemming.
- Trim line (finished size): the edge of the bandana after hemming, for example 560 mm on a standard bandana.
- Bleed: artwork that runs about 5 mm past the trim line on each side. Fabric moves a little when it is cut and hemmed, so a background or pattern that stops exactly at the edge can leave a thin unprinted line. With bleed, the colour runs into the hem instead.
- Hem: the narrow hem folds a few millimetres of fabric under on every edge, so anything printed right at the edge is partly hidden.
- Safe zone: keep logos, text and faces about 25 mm (1 in) inside the trim line. Many bandanas use a border at about this distance, which is why classic layouts look framed.
- Print area: for an all-over design it is the full canvas with bleed; for a bordered or single-logo design it is the area you actually fill.
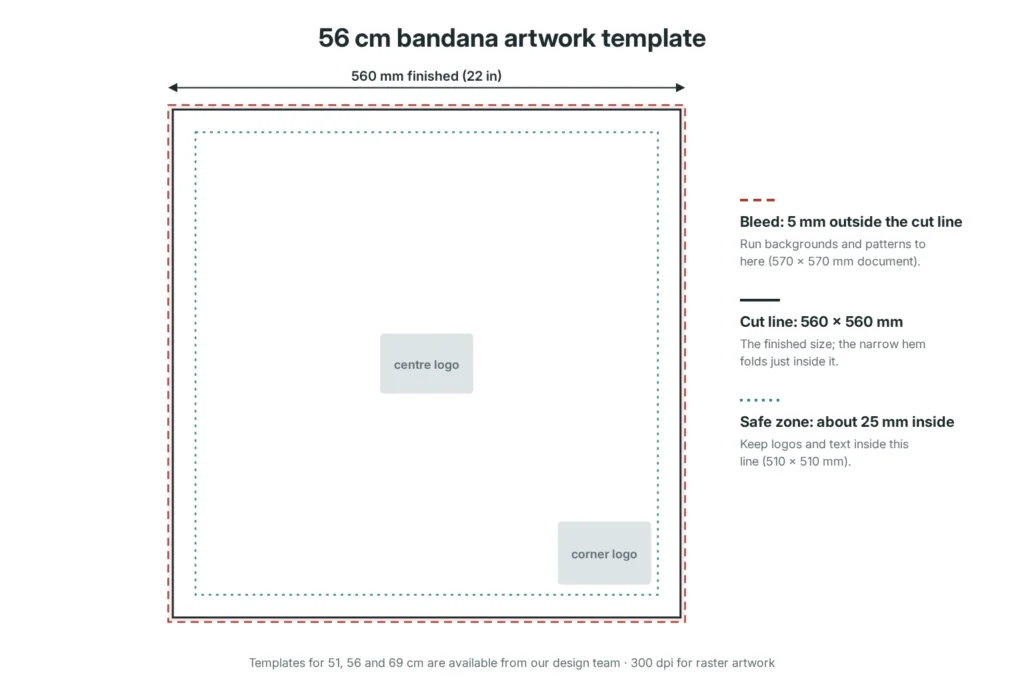
Full-bleed, edge-to-edge designs are possible with sublimation and with all-over screen or digital prints. Fabric and method decide how sharp the edge can be, so we check it on the mockup and the sample. Our guide to bandana printing methods explains what each method can do.
How does the design look when a bandana is folded into a triangle?
Folded corner to corner, a bandana shows only one half of the square: a triangle with one corner pointing down at the front and the other two corners in the knot. Plan the most important part of the design for that front half.
The fold line runs through the centre of the square, so a large logo in the exact centre is cut in half, and only the top layer faces outwards.
| Placement | Folded as a neck triangle | Worn as a headband | Suits |
|---|---|---|---|
| One corner | Shows at the front point, the most visible spot | Usually hidden in the band | Brand logos, event names, small marks |
| Centre | Split by the fold line | Mostly hidden | Designs worn open or framed |
| Border | Shows along the two front edges | Partly visible as stripes | Classic and paisley layouts |
| All-over repeat | Looks complete from any side | Reads well in narrow strips | Patterns, camo, team colours |
| Four corners (mirrored) | One corner always at the front | Corners end in the knot | Designs that must look right however they are folded |
Folded into a narrow headband or wristband, only thin strips of the design show, so repeat patterns usually work better there than a single central logo. You can see each fold in how to tie a bandana before you decide where your logo goes.
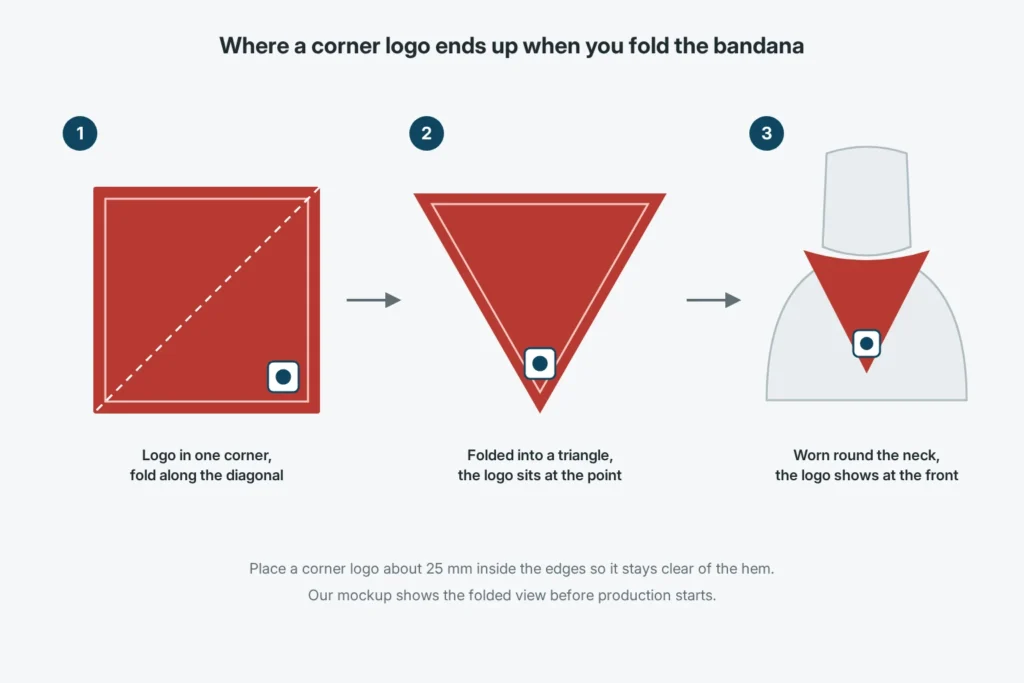
A quick test: print the design small on a paper square, fold it corner to corner and see what stays visible.
Which file types should you send for a bandana design?
Send vector files (AI, PDF or SVG) for screen and discharge printing and for embroidery. For digital printing and sublimation, high-resolution raster files at 300 dpi at the finished size work well, and vector files are welcome too.
| File type | Good for | What to check |
|---|---|---|
| AI (Adobe Illustrator) | Screen, discharge, embroidery, all methods | Fonts converted to outlines; one layer per print colour |
| PDF (vector) | All methods | Saved with vector content, not as a flattened picture; fonts embedded or outlined |
| SVG or EPS | Screen, discharge, embroidery | Clean paths, no hidden objects outside the canvas |
| TIFF, PNG or PSD | Digital printing, sublimation | 300 dpi at the finished size including bleed; flattened layers are fine |
| JPG | Reference images, digital printing if high resolution | Compression can blur fine lines; use the largest version you have |
A vector file is drawn from lines and shapes rather than pixels, which is why it scales without blurring; our help page on artwork files explains how to check yours. If you only have a low-resolution logo, our design support team can usually redraw simple artwork as a vector file and confirm it with you.
- Convert all text to outlines, or send the font files with the artwork.
- Keep each print colour on its own layer, named with its Pantone reference.
- Include the bleed in the file; do not add crop marks inside the canvas.
How do you specify bandana colours with Pantone?
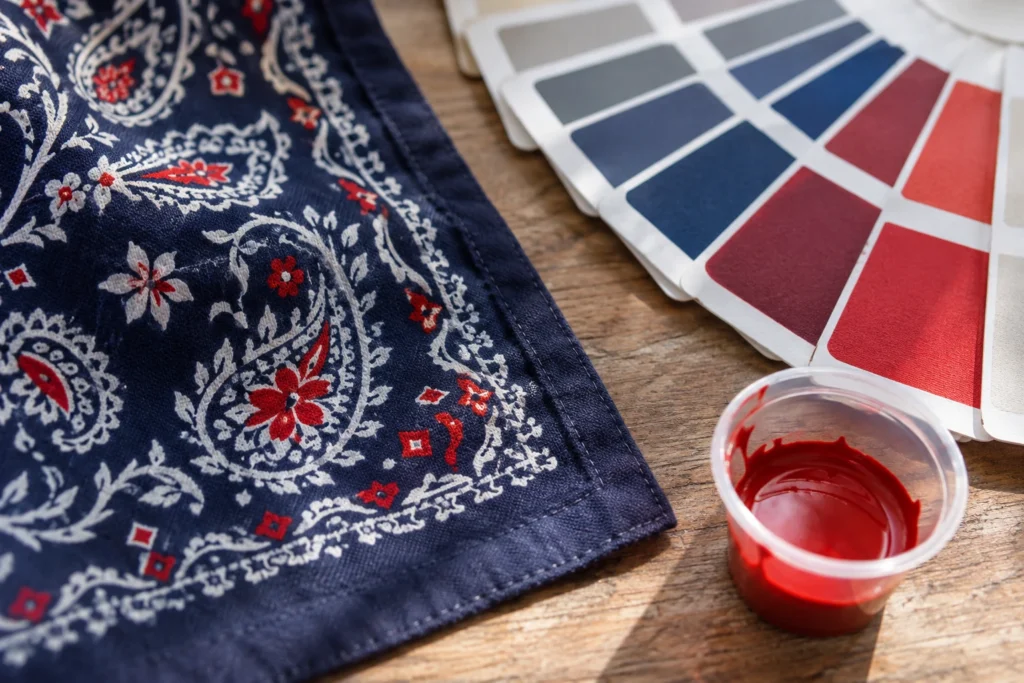
Give every spot colour a Pantone reference, ideally from a textile (TCX or TPX) guide. Screen colours on the monitor shift from device to device, so a code gives our team a fixed target for mixing ink.
The Pantone Matching System is a numbered colour library used across printing and textiles; our Pantone glossary entry explains the different guides. Coated (C) references from graphic design work too, and we match them as closely as the fabric allows, but colours on cotton usually look slightly softer than on coated paper.
- The ground colour of the fabric matters: ink printed on red or navy cotton mixes visually with the ground, so a light colour may need discharge printing or a different shade.
- Neon and metallic shades vary most between fabric and screen, so judge them on the sample.
- For digital printing and sublimation, send the file in RGB or CMYK and add Pantone references for logo colours that must match your brand.
How many colours can a screen or discharge printed bandana have?
Each colour in a screen or discharge print needs its own screen, so the colour count shapes both the look and the price. Many bandana designs use only a few colours; more are possible, and the number for your design is confirmed with the quote.
Screen printing pushes ink through a fine mesh, one colour at a time, so a three-colour design uses three screens. Discharge printing is used on dark cotton: it removes the dyed ground colour where the design goes, so light colours stay soft to the touch. The fabric ground itself usually does not need a screen, which is why a red bandana with a white and black paisley counts as a two-colour print.
- Use flat, solid colours; gradients and photo effects suit digital printing or sublimation better.
- Keep fine lines and small text a little bolder than on paper, because ink spreads slightly into woven cotton.
- For digital printing and sublimation, the number of colours does not change the set-up, so full-colour artwork is fine.
More colours, two-sided prints and all-over designs all affect the price per piece; our article on what custom bandanas cost explains how.
How do you design a mirrored or repeat bandana pattern?
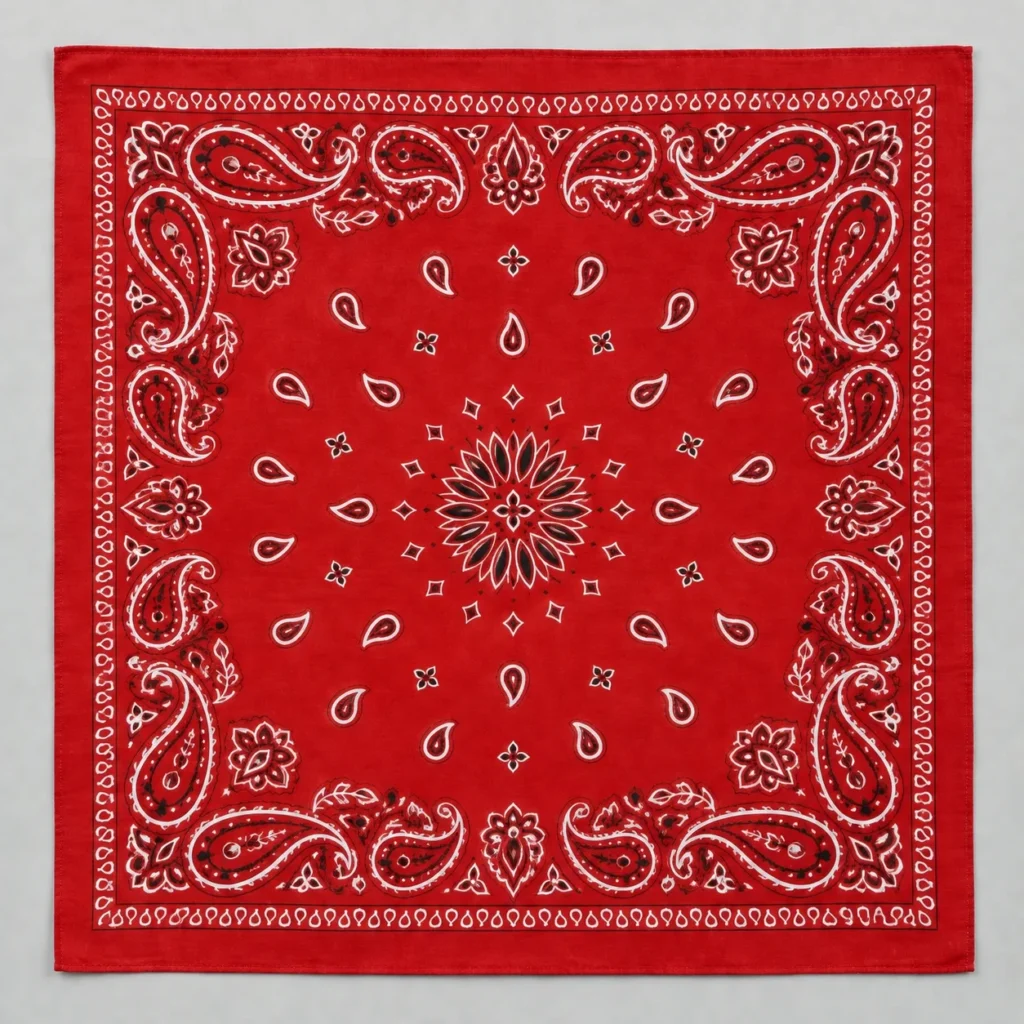
Many classic bandanas are built from one quarter that is mirrored four times around the centre, with a border around the edge. A mirrored layout looks the same whichever corner ends up at the front, which suits a bandana that people fold in different ways.
- Four-way mirror: draw one quarter (for a 56 cm bandana, a 285 mm square including bleed), then mirror it horizontally and vertically. Check the centre point and the fold lines, where the copies meet.
- Repeat tile: for an all-over pattern, design a tile whose edges join without a visible seam, then repeat it across the canvas. Keep the logo out of the tile if it must appear only once.
- Border plus centre: a framed border with a motif or a logo inside, the layout behind most paisley bandanas.
- Corner logo: a pattern all over, with a small logo or name inside the safe zone of one corner.
The paisley layout is a good example of a mirrored design; our article on the paisley bandana shows where it comes from and how it is printed today. If you design for cotton, keep in mind how the bandana cotton poplin takes ink; our bandana fabrics guide compares it with polyester twill and satin.
What happens after you send the artwork?
Our team checks the file, prepares a mockup showing your design on the bandana and confirms the size, colours, print method and price. Production starts only after you approve the mockup.
- We check the resolution, the colour count, the bleed and the safe zone, and tell you if anything needs changing.
- We send a digital mockup with the placement, the Pantone references and the print method; see how mockup approval works.
- You approve it or ask for changes; nothing is printed before your approval.
- A physical sample can follow: a pre-paid sample, paid 100% in advance and ready in about 5–7 days, or a free pre-production sample after the order and the 30% advance, approved by photos or video.
- Bulk production takes approximately 14 days after sample approval.
We print only designs you own or are licensed to use, so please tell us if the artwork includes a club crest, a character or another licensed mark.
Is there a free bandana artwork template?
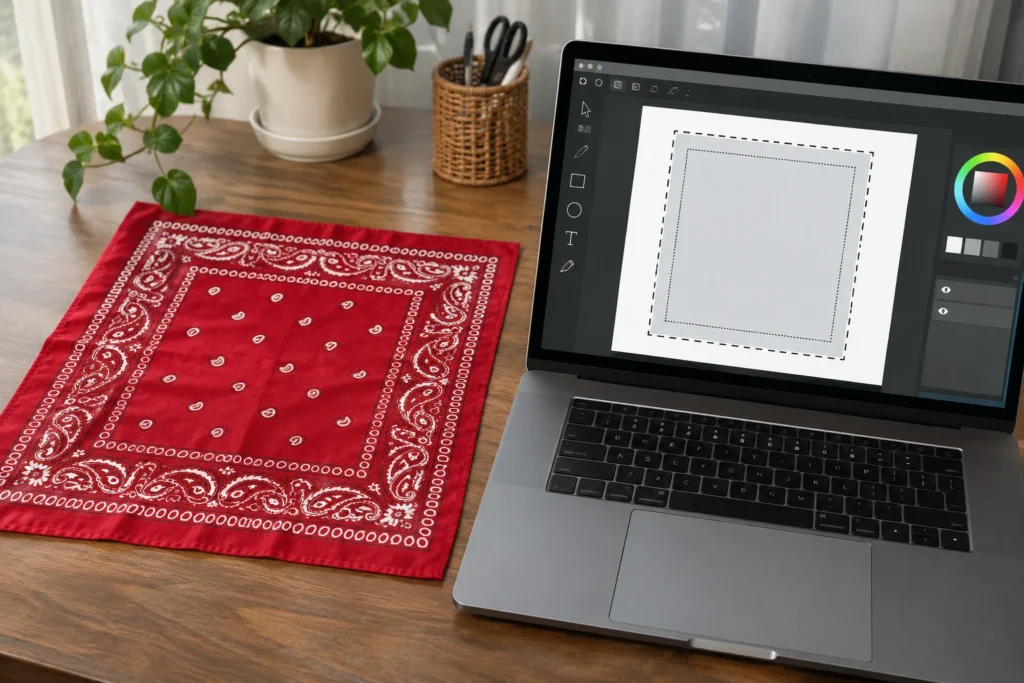
Yes. Download our free bandana templates, with the cut line, the 5 mm bleed, the safe zone and the triangle fold marked: 51 cm (20 in) PDF, 56 cm (22 in) PDF, 69 cm (27 in) PDF, or all three sizes as PDF and SVG (ZIP). Place your design on the artwork layer, delete the guide lines before exporting, and send the file with your enquiry; for other sizes our design team sets up a template for you.
How to choose the right artwork set-up
- A logo that must be seen when the bandana is worn: place it in one corner inside the safe zone.
- A classic or paisley look: a mirrored four-way layout with a border, screen or discharge printed on cotton.
- A photo, a gradient or many colours: a raster file at 300 dpi, digitally printed on cotton or sublimated on polyester.
- An edge-to-edge pattern: add the full 5 mm bleed and check the edge on the sample.
- Bandanas for dogs: the shapes differ, so check the sizes in our dog bandana size guide before you draw.
Sending your bandana artwork to Mr Balaclava
We make custom bandanas from 50 pieces per design, with your branding and no Mr Balaclava marks: Mr Balaclava’s name never appears on your products.
What to send with your artwork
- The artwork file (AI, PDF, SVG or a 300 dpi raster file) and a flat preview.
- The bandana size: 51, 56 or 69 cm, or your own size.
- The fabric you prefer, or the look you want, and the print method if you know it.
- Pantone references for the colours that must match.
- The quantity per design and your deadline.
- Labels and packaging, if you need them, and the delivery country.
Bandana artwork: frequently asked questions
What is the print area of a 22 inch bandana?
A 22 inch bandana is 56 × 56 cm. For an all-over design the print area is the full square plus about 5 mm bleed on each side (570 × 570 mm); logos and text should stay about 25 mm inside the finished edge.
What resolution does a bandana design need?
Raster artwork should be 300 dpi at the finished size including bleed, which is about 6,732 pixels square for a standard 56 cm bandana. Vector files have no resolution limit and suit screen and discharge printing.
Where should a logo go on a bandana?
For a bandana worn as a neck triangle, one corner is the most visible spot, because it becomes the front point. A logo in the centre is split by the fold, so it suits bandanas worn open or framed.
Can you print my design on both sides of a bandana?
A bandana is usually printed on one face, and on thin fabric a lighter version of the print often shows on the back. Two-sided designs are possible on request; we confirm the method and the price with the quote.
Ready to send a design? Start with the bandana catalogue for a base style, check the details in our vector file glossary, or send your artwork for a quote.