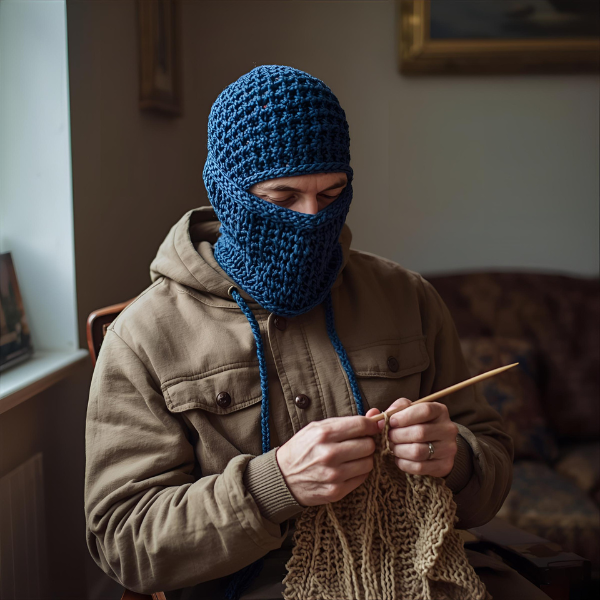
For a relaxing and enjoyable experience, consider knit a balaclava from head to neck using various knitting methods: casting on, developing purls, knitting, and then making some basic decreases. A head-turning masterpiece awaits with a few needle, yarn, and some patience. Gone are the days when winter was a reason to hide away, your tailor-made balaclava is here to save the day outdoors. Customize it to your color and style, it is sure to bring wows and head-turns in the chilly season. The ease of knitting a balaclava is so seamless that even a first timer will be able to do it with ease. The warm and gentle embrace from the gentle ribbed knitting till the adjustable edges will surely be a delight. The balaclava’s face opening, crown and flexible edges are it’s most standout features that will surely bring delight to onlookers. The finest knitting experience is head-spinning fun.
Knit a Balaclava: A Beginner’s Guide
If you’re seeking instruction on how to knit a balaclava, you are in the right place! Apart from being stylish, this wear is effective in providing warmth for the head when it’s chilly, and knitting it yourself gives a chance to put your creativity in design and fit. Below is an overview.
Learning Outcomes:
- Understand the dire need of foundational knitting (casting on and knit and purl stitches)
- Knit the balaclava in a seamless manner
- Learn to configure the facial cavity using increments and decrements
- Provision of ribbing on the edges for the sake of added comfort and elasticity
- Binding and end weaving finishing techniques
Reasons for Knitting Your Very Own Balaclava
- Ability to choose fit and style
- Warmth due to the selected yarn
- An entertaining and simple task
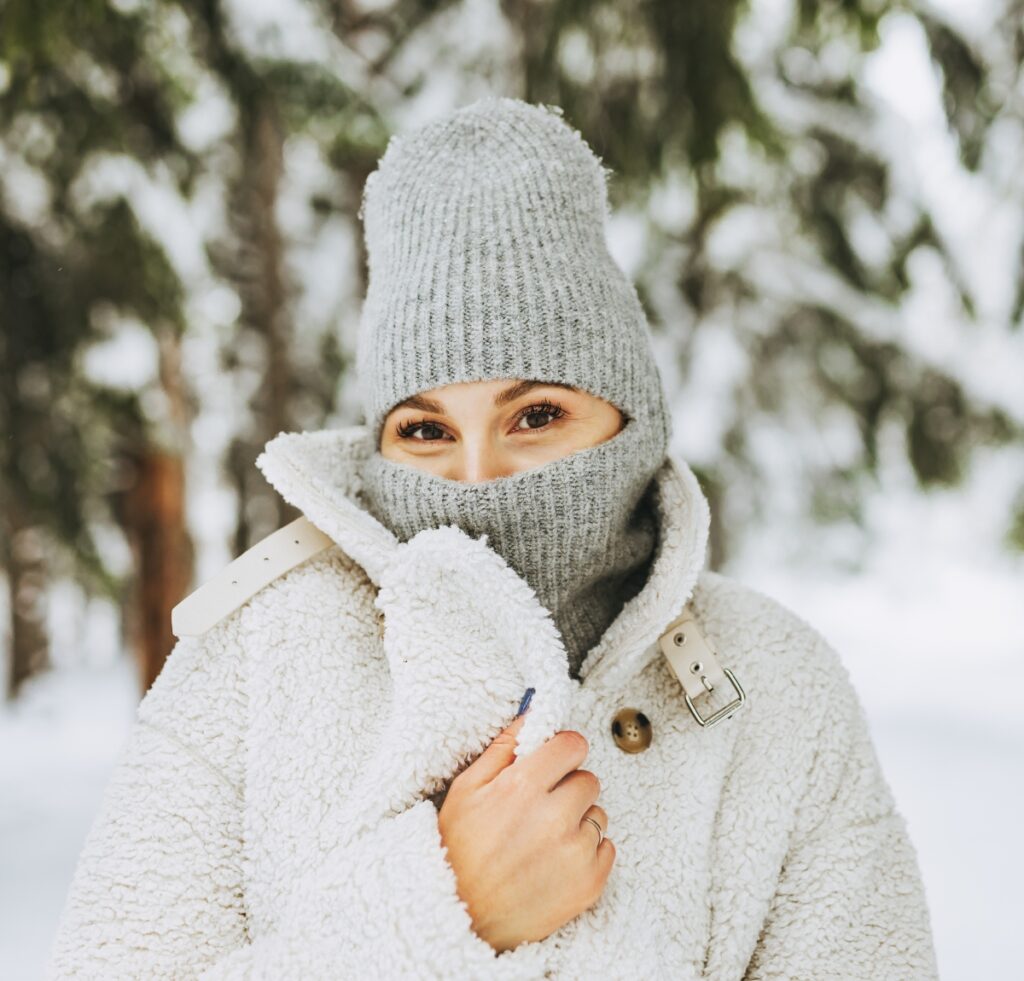
- An ideal present for a person who loves the winter
- Even beginners can follow easy instructions to knit a balaclava with style, warmth, and effective for the winter.
Ready to get started? Let’s Dive in
Tools and Materials Needed
All the tools and materials mentioned below are needed for the balaclava knitting project. Before you commence the knitting process, make sure to have all the necessary materials ready. This will help you in making the procedure quick and enjoyable.
Materials :
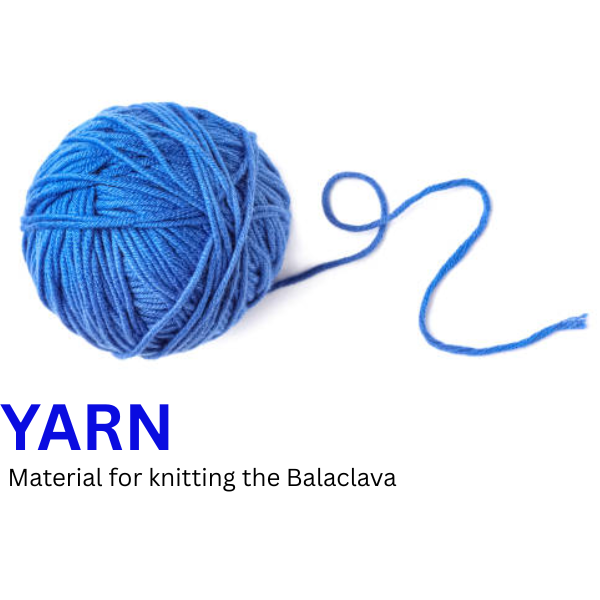
- Yarn – The yarn needs to be non-irritating and warm. Fix the yarn to be worsted weight wool or a warm acrylic. Half a balaclava would need around 100-150g of yarn.
- Optional – A comfortable yarn which has a bit of stretch or a balance yarn.
Tools:
- Knitting needles: Circular needles (16” length) or double pointed needles (DPNs) in size US 7-9 (4.5-5.5 mm) work best with worsted weight yarn.
- Stitch markers: To denote rounds and modifications in the design.
- Tapestry needle: For securing loose threads and closure finishing.
- Measuring tape: To monitor advancement and the respective size.
Optional :
- A row counter to help keep recounts of the rows for the new comers.
- Pins and board (or dry erase markers, crest board, and stitch circle to be used for balaclava construction work).
Having all these materials ready will prepare you for the journey of knitting a balaclava. Most importantly, the fundamental skills and stitches you’re going to use need to be explained first.
How to knit a balaclava step by step
Step 1: Cast on
Most beginner knitters don’t realize that this is a fundamental technique and is like foundational work in any other line of work, in these line, you will have to cast on a total of 80 to 100 stitches. The number of stitches you will have to cast on relies of the thickness of the yarn you will be using and the length of the head you want to create this ito.
Step 2: Ribbing
The purpose of this step determines the length of the ribbing that is going to be created. In this step you will for the next 2 to 3 Inches rib in K1, P1. It is required to stretch the finishing edges for the sake of comfort.
Step 3: The body
Its purpose is to elongate and taper the number of stitches you have in a row. You will be using a stockinette until you reach a total of 8 to 10 Inches of the piece. The portion stretches the head as well as the neck of the balaclava
Step 4: opening the face
The opening will be going right in the middle of the row, and you will have to knit half of the row to reach it.
Step 5: knit until the top of the crown
The first step will mark the start of the 14 to 16 inch mark. After completing these, you will be required to knit the whole piece in stockinette.
Step 6: finishing touches and crowning
Crown the piece by knitting 2 stitches together after a few lines have rowed. If you have a few left, cut the yarn, and pull in tight using a tapestry needle.
Go on and put this on, and you will realize there are other pieces as well like the crown which is also a head piece.
Beginner Tips & Tricks
- Take advantage of thicker yarn – With chunky yarn, your stitches are bigger, and your completion time is lower.
- Don’t Let Mistakes Trouble You – “Wobbly stitches” are perfect as they give designs a “vintage” touch.
- Count Every Few Stitches – Preventing dropped and extra stitches is one of the counting skills useful in crochet.
- Give your Hands a Rest – Remember to stretch often, as your hands may cramp from knitting too much.
- Don’t be Afraid to Experiment with Colors – Use lines, blocks of color, and/or even eye-catching neon yarn
FAQ
How long does it take to knit a balaclava?
Ans: Most beginners complete the Balaclava in 2 – 4 days. However, using chunky yarn can mini mize this time.
Is knitting a balaclava difficult?
Ans: You will mostly only use knit and purl stitches. The only exception is the face hole which is a bit more complex but still possible.
What type of yarn is ideal?
Ans: Yarn which is chunky and made out of wool or acrylic is the best provides warmth and comfort.
Do circular needles need to be used?
Ans: Circular needles, while helpful, are not absolutely necessary. Using straight needles and sewing the back seam still works fine.
Can the balaclava be modified?
Ans: Most certainly. You can experiment with various colors, introduce patterns, or even sdd a pom pom on top.
Conclusion
Finally, we have made it to the end of this new проект! Congratulations to you! You now have a custom made balaclava! It is all up to you, it can be a trendy piece of clothing, it can be a DIY project, or it can be a nice warm piece of clothing for the winter, this guide is just for you.
Rather than focusing on the individual stitches, it is more important to appreciate the url, the piece is, after all, warm, and the stitches are practical and made specially for you. You can wear it, you can give it away to one of your friends or family, or you can also keep practicing your knitting.
And if you want my personal opinion, you can and should, use it for the cold winter season! I also hope for you, and of courseieces of knit work! Happy knitting! May the balaclava bring you lots of joy!
Our other projects about Balaclava.