Knitting a balaclava is a great way to keep warm and fashionable during the late cold seasons. This warm piece of clothing keeps your whole head, neck, and part of your face warm. The balaclava was formally known as a military piece of clothing, but now is a casual winter accessory and fashionable clothing piece. With some patience, yarn, and needles, you can hand-make a balaclava to keep for yourself and to stay warm during winter.
Table of contents
- A Short History of the Balaclava
- What is a Balaclava?
- Opportunities to Wear a Knitted Balaclava
- Choosing One’s Yarn and Tools
- The Knitting Process Step by Step
- Adding Details and Finishing Touches
- Why Knitting a Balaclava is Worth It
- Fashion Trends and Current Applications
- Maintenance and Care
- Conclusion
- FAQs
A Short History of the Balaclava
Knit balaclava originated during the Crimean War in the 1850s. The British balaclava were stationed to the Balaclava region, and because of the extreme freezing weather during the winter, local women knitted warm hoods for the soldiers. The hoods served as warm protective clothing and the women’s knitted hoods became known as balaclavas. The versatile balaclava has become a winter and outdoor sport essential piece of clothing in the modern world. It serves as a winter military piece of clothing, but has also become a symbol of handcrafted comfort and warmth.
What is a Balaclava?
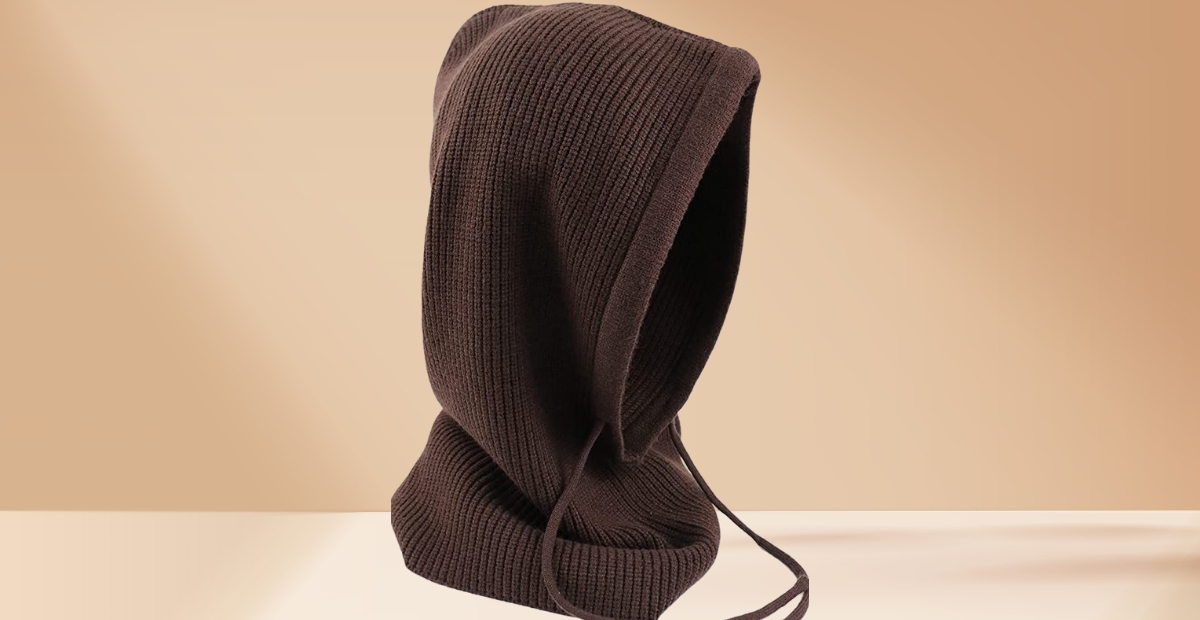
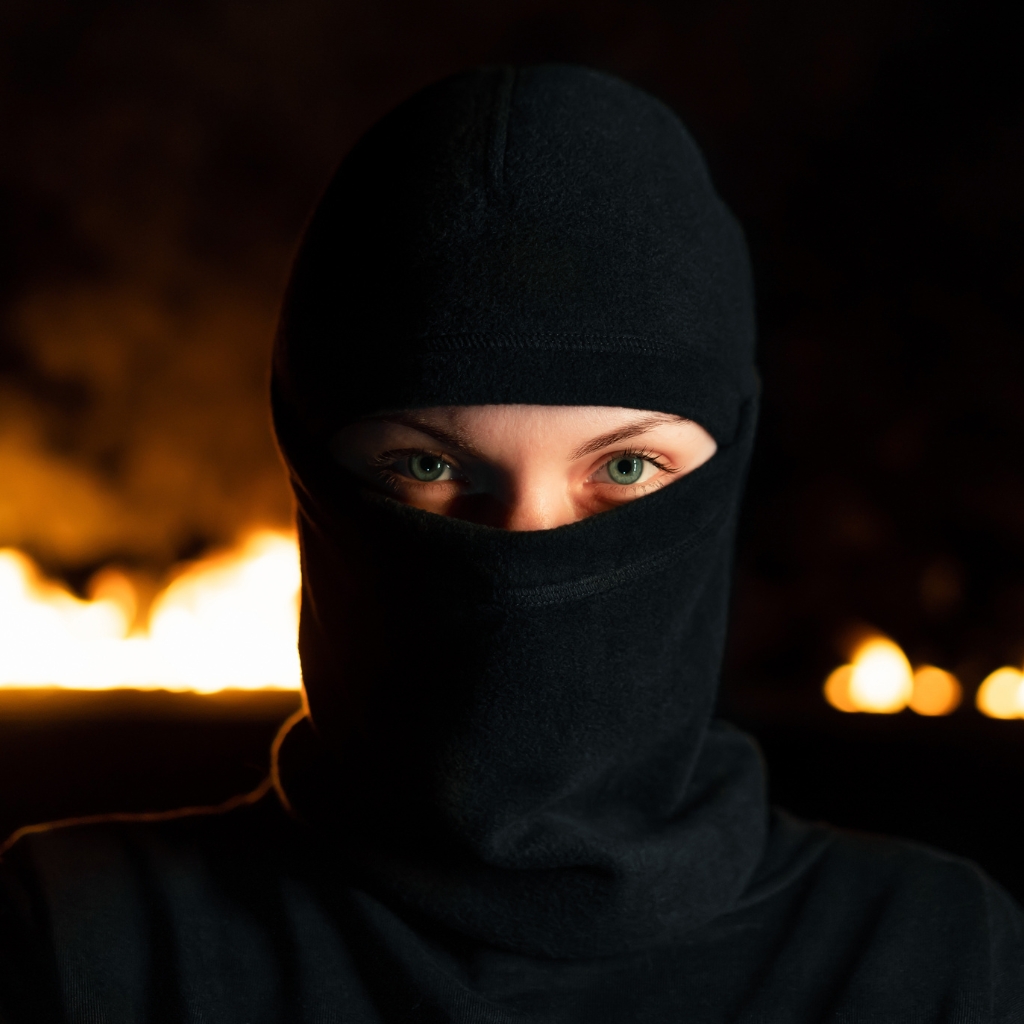
A balaclava is a type of close-fitting headwear to protect the face, head, and neck from the cold. Most balaclavas cover the majority of the face, exposing only the eyes, the nose, and/or the mouth, Some balaclavas can even be folded back to form a hood or rolled down to serve as neck warmer. A knit balaclava is even more versatile as there are countless ways to style for varying weather conditions or personal preference. Apart from the hand-knit style, a balaclava is more for warmth or as a fashionable accessory.
read more. What is a Balaclava
Opportunities to Wear a Knitted Balaclava
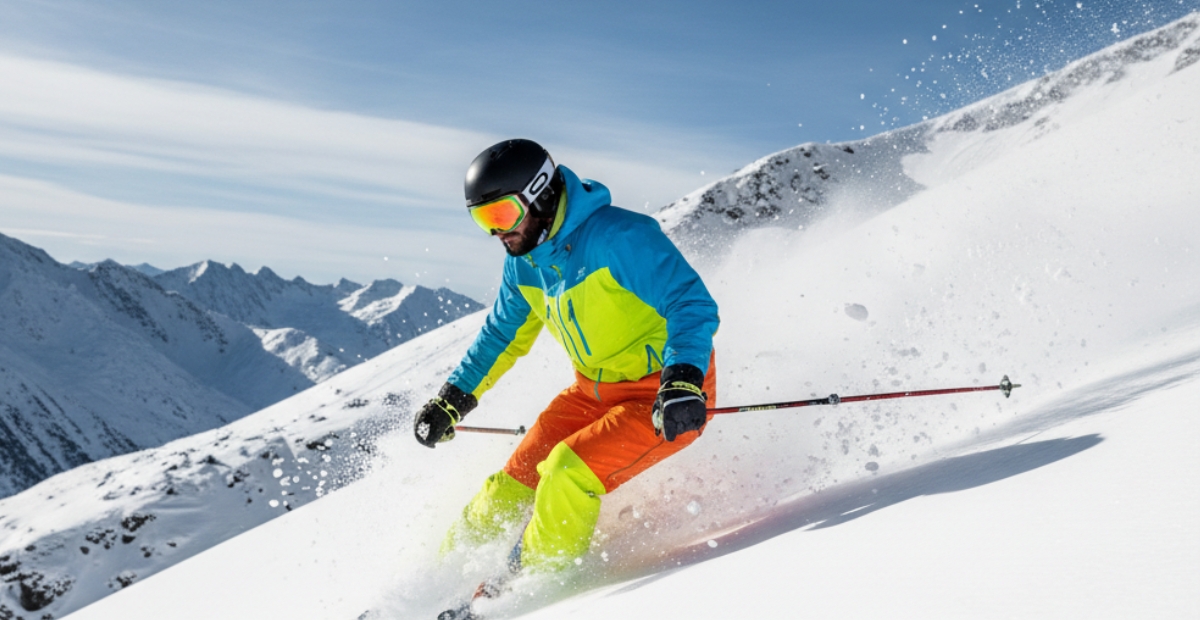
Because of their versatility, balaclavas can be worn in a multitude of situations. They are designed for cold winter outdoor activities, which include skiing, snowboarding, or even winter hiking. They are also a good option for motorcyclists who want to protect their neck and face from wind and cold weather as a helmet is worn. Runners and cyclists are known to wear them for morning exercises in cold weather. Campers and those who work outdoors in the wind or cold also find them to be of warm comfort. Balaclavas are also a part of modern fashion collections and are used in streetwear. They are bold and stylish. Knitted balaclavas provide warmth and comfort in a wide variety of environments, from winter hiking the the snow to urban settings.
Choosing One’s Yarn and Tools
Choosing the correct Yarn and Tools is optional. For balaclavas, any warm, soft, and flexible Yarn will do. Wool is soft and warm, while acrylic Yarn is lighter and washer friendly. Selecting the correct Yarn will ensure the balaclavas are stylish and unique. Warm and soft Yarns work sufficiently. The balaclava will be warmer and cozier. For seamless knitting, pick circular knitting needles, but double-pointed needles will work too. Of course, you will also need Yarn scissors, a Yarn needle, a Yarn marker.
The Knitting Process Step by Step
Start by measuring your head circumference. For soft, warm, and flexible Yarn, balaclavas will be stylish and unique. Wool is soft and warm, while acrylic Yarn is lighter and washer friendly. Picking the correct Yarn will ensure the balaclavas are stylish and unique. Warm and soft Yarns work sufficiently. The balaclava will be warmer and cozier. For seamless knitting, pick circular knitting needles. Warm and soft, flexible Yarn is stylish while soft yarn will be cozier. For seamless knitting, double pointed will also work.
After completing the ribbed section, the next step is the main body pattern, which is typically stockinette stitch. Fabric is knitted and purled in alternates, and in this fashion, work until the fabric reaches the chin. This portion is the lower section of the balaclava. After completing the lower section, the fabric moves to the face area, therefore a few stitches need to be bound off to form a face opening. After the face opening, you knit flat for a few rows, and then you can knit the balaclava in the round for the rest of the face.
When you reach the crown, you need to start decreasing stitches evenly to shape the head. After a few rounds, the opening will be small enough that you can cut the yarn, thread it through the remaining stitches, and pull to close. With a yarn needle, weave in the loose ends. Now the knitted balaclava is completed but can be further customized
Adding Details and Finishing Touches
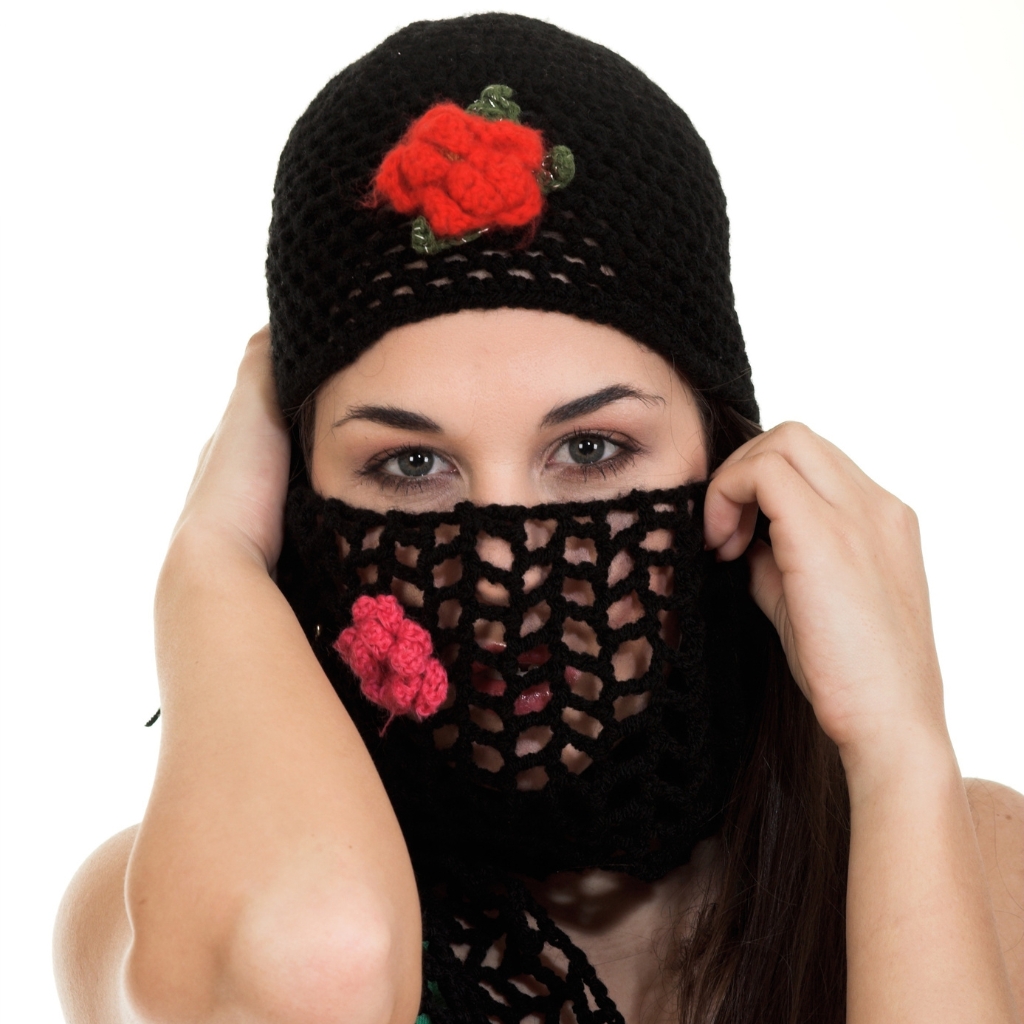
Once your balaclava is knitted, you may want to add a few finishing touches to make it even cozier. For added warmth, some knitters prefer to add soft fleece lining. Others play with different colors and add stripes and other patterns. For those who love to experiment with different designs, you can play around with cable stitch patterns, ribbing, or even color blocking. To make your balaclava or ski mask even more personalized, you can add small touches, like pom-poms and other embellishments, or even your initials. To complete the process, you should wash your knitted item in cold water with mild detergent and lie it flat to dry. This is to keep the fabric soft, and it helps maintain the shape for future use.
Why Knitting a Balaclava is Worth It
Knitting a balaclava is about more than just creating more winter gear. Each stitch has purpose and meaning. The shows care, warmth, and effort. It is different from the ones sold in shops because it shows your personal style. It is more sustainable, fully adjustable, and will give you a fit that’s like it was made just for you. The doesn’t matter whether you are making it for yourself, or to give it to someone else, knitting a balaclava will offer a connection to the art and functionality of handcrafting, and will keep you warm for the winter to come.
Fashion Trends and Current Applications
Knit balaclavas are now popular outside for high fashion as well. As everyday fashion staples, designers and influencers showcase. They are worn in eye-catching colors and more neutral tones, and matched with coats, sweaters, or puffer jackets. As a unisex item, the balaclava provides both winter warmth and streetwear style, which shows how versatile and timeless it is. The balaclava is a practical fashion item that has made the journey from the battlefield to high fashion, and continues to showcase endless work refinement.
Maintenance and Care
To ensure your knitted balaclava is still soft and retains its quality, you must make sure to maintain it well. Wash it by hand, in cold water with mild soap, and avoid using any strong soap. When washing, do not wring it out; just press it gently to remove water. To dry it, lay it flat, on a clean towel, and keep it away from heat. If your yarn allows, you can also use a fabric conditioner to maintain its softness. With the right maintenance, your balaclava will be warm, cozy, and beautiful for winters for a long time.
Conclusion
A balaclava isn’t just practical for winter, it carries personal history combined with the artistry of the maker. There is something very meaningful in the creation of a modern knitted piece. The warm piece is a comfort for the chilly adventures that lie ahead, or as an activity to pass the time, a knitted balaclava is a wonder. The time involved, the gentle yarn, the love, and the skill make the balaclava a lovely creation for the winter season, and in the maker’s eyes, a piece of art a knitted masterpiece.
FAQs
Wool and acrylic blends are the most popular choices. Wool provides excellent warmth and breathability, while acrylic is soft, lightweight, and easy to care for. For sensitive skin, consider cotton or bamboo yarn for a gentle, non-itchy feel.
The time depends on your skill level and the pattern. Beginners may take two to three days, while experienced knitters can finish one in a few hours. Using thicker yarn and larger needles can speed up the process.
Yes, you can use straight needles, but you’ll need to sew the seam at the end. Circular or double-pointed needles are preferred because they create a seamless, more comfortable finish.