If you want to crochet balaclava and you are a beginner , you should gain knowledge about it before crocheting balaclava.
You should learn at least the following things about balaclava !
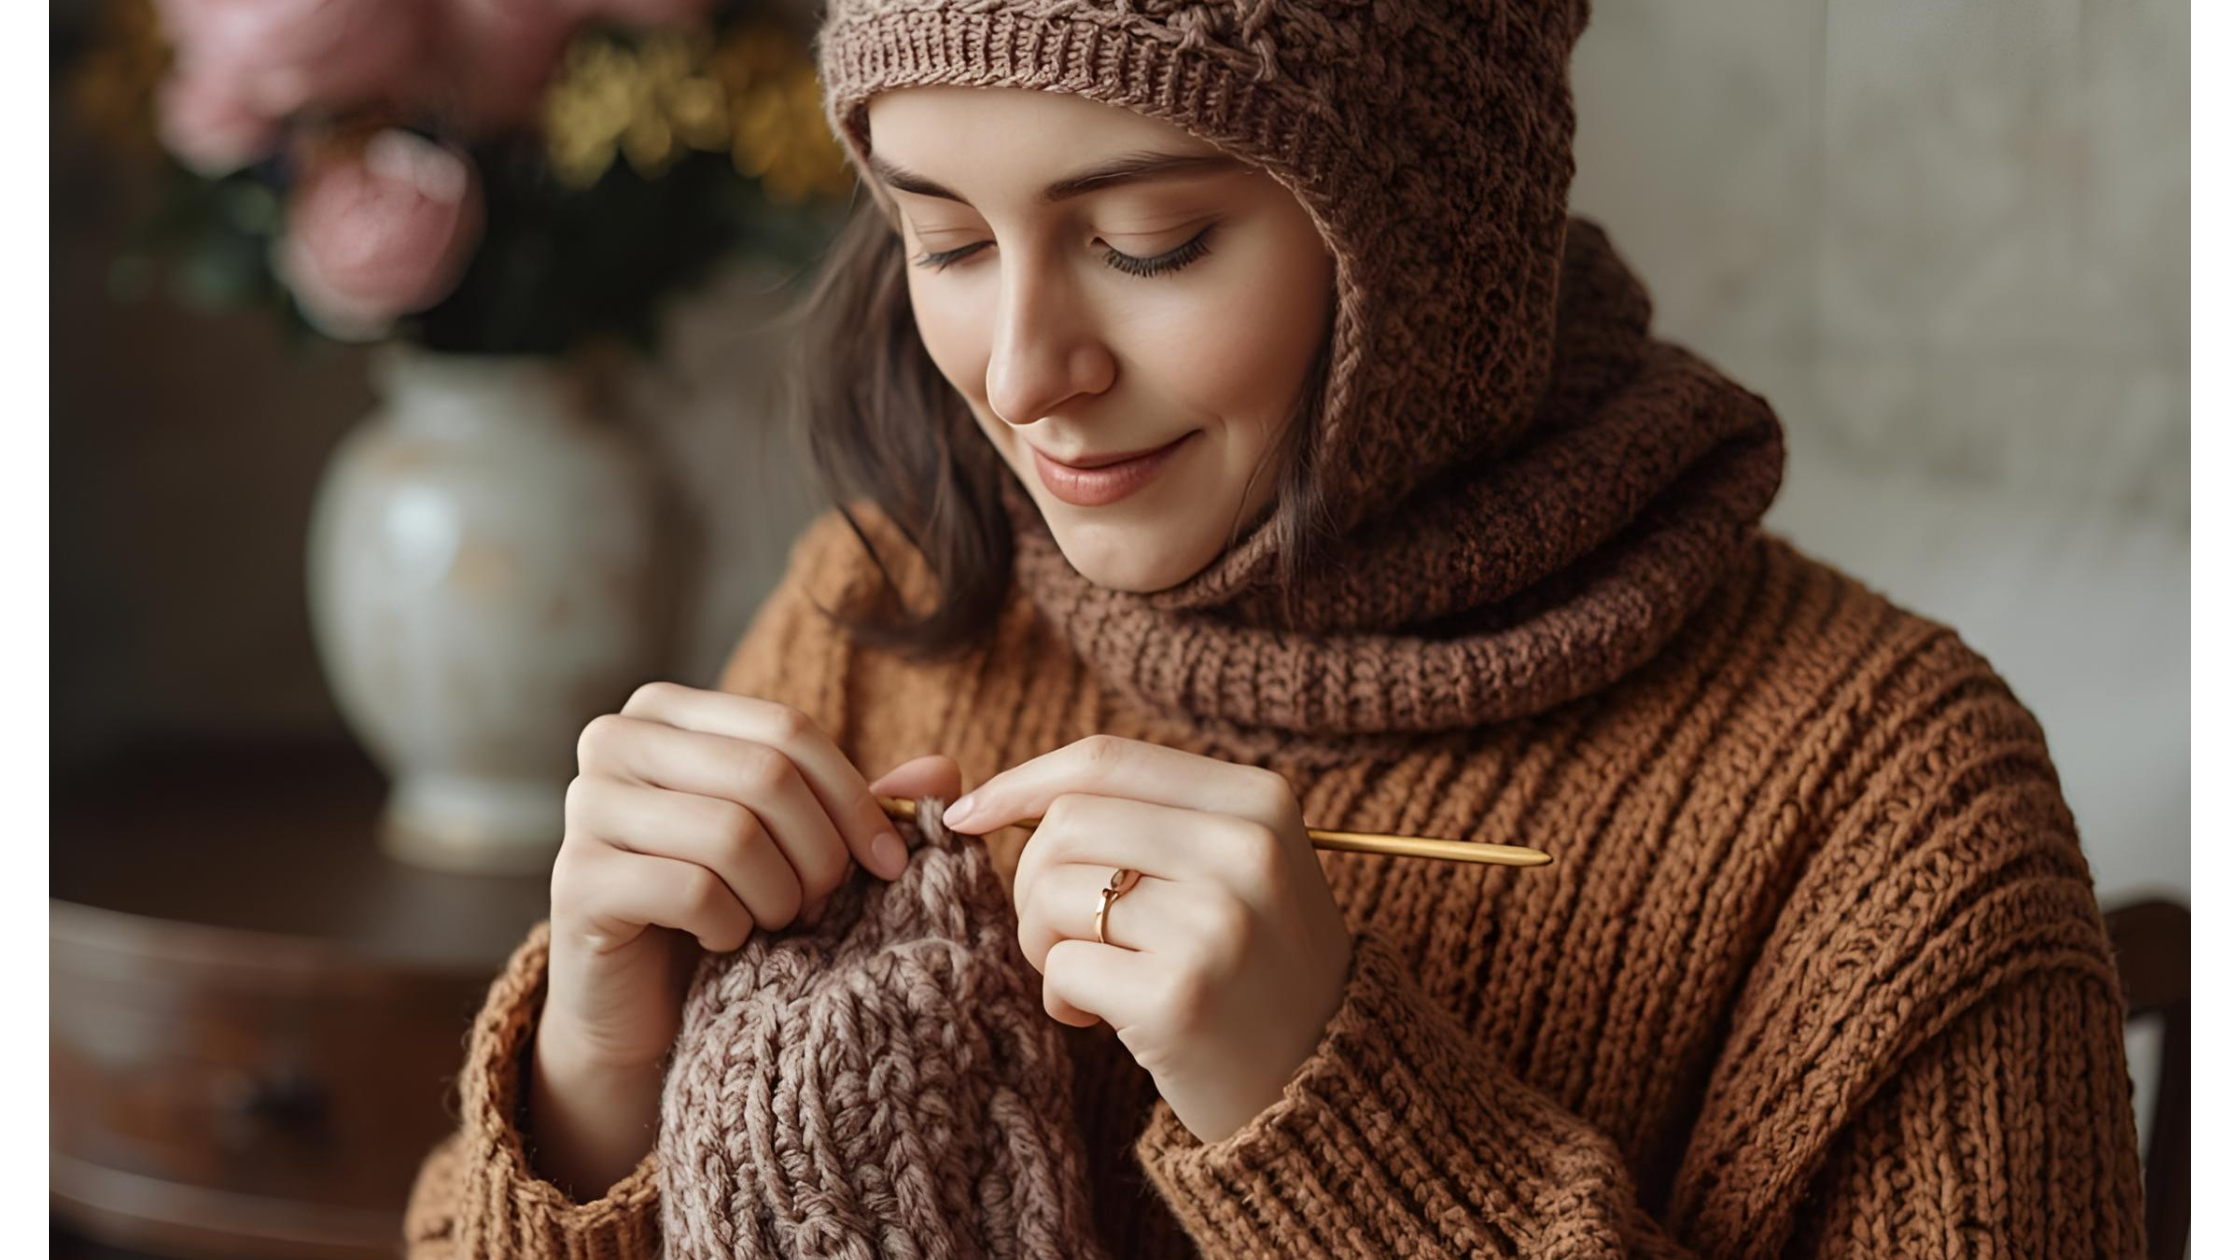
- What is a Balaclava.
- What are the types of balaclavas.
- What is the main purpose of crocheting balaclava.
- Which Materials and Tools required for balaclava.
After gaining knowledge about it and its types , You should select a type of balaclava which you want to crochet. Then you should decide a design , size and pattern for your balaclava. After this you should have materials and tools required for crocheting a balaclava.
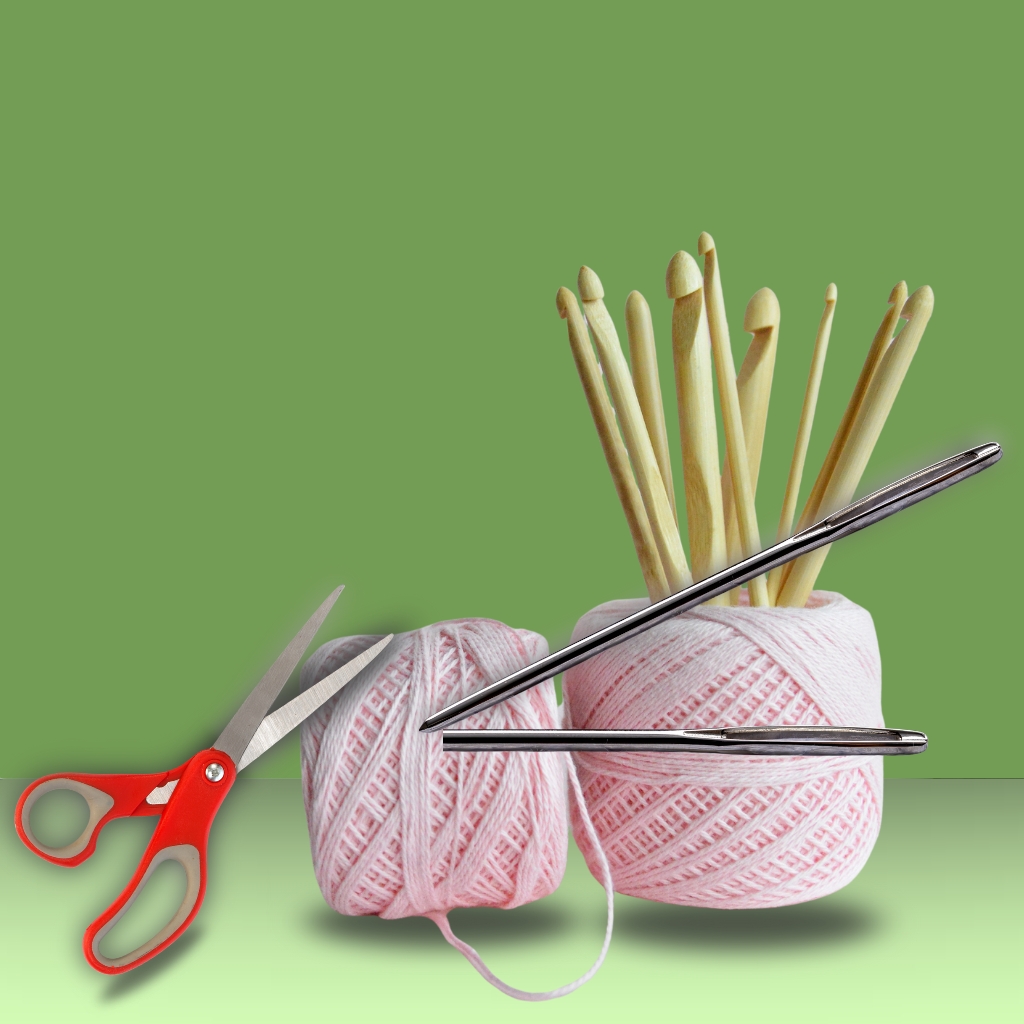
Materials & Tools You Will Need
- Yarn – Choose a soft, warm yarn (acrylic or wool blends are great).
- Crochet hook – A hook having 5mm to 6mm size works very well.
- Scissors – For trimming yarn ends.
- Stitch markers (optional) – To keep rounds in a track.
- Tapestry needle – For knitting in ends when you’re done.
Basic Stitches You Should Know
Here are some stitches that you will use if you’re a beginner at crocheting:
- Chain (ch). The basis of most crocheted projects.
- Slip stitch: To join and finish rounds.
- Single crochet (sc): A tight, simple stitch.
- Half Double Crochet (hdc). A little taller and stretcher.
- Double crochet: Taller stitches for rapid progress.
How to Crochet a Balaclava: Step-by-Step
Step 1: Begin with the base
Make a foundation chain large enough to fit comfortably around your neck (usually between 60 and 70 chains depending on the yarn and hook size). Slip stitch the ends together to create a loop.
Step 2: Crochet the Ribbing
Only work rows of half double or single crochets in the back loops. You will get a ribbed, stretchy edge on the bottom of your balaclava.
Step 3: Build your body
Continue to work in rounds with half double crochets or double crochets until the fabric reaches below your eye.
Step 4: Create a face opening
Crochet rows back and forth instead of rounds when you reach eye-level. This will leave a small opening in the front for your face. Continue with 10-12 rows. (Adjust according to your face size).
Step 5: Finishing the top
As you progress upward, join your rounds once the face opening has been completed and begin decreasing stitches. This will shape the crown of your balaclava. Close the top by pulling the thread through the last few stitch.
Step 6: Add Details (Optional)
- Crochet around the opening of the face to give it a polished appearance.
- Add a drawstring to add style.
- Customize your design by using different colors and textures.
Beginner’s Tips
- You can always undo and redo your mistakes.
- Check the fit of your balaclava as you go.
- If you want extra warmth, use chunky yarn.
- Relax your muscles for a comfortable, stretchy result.
Style Ideas
You can use your handmade balaclava for more than just snow days!
- Classic Winter Look: Wear as a ski hood or mask.
- Street Style: Use bold colors to create a trendy look.
- Cozy option: Wear it as a neck warmer by folding the face down.
The conclusion of the article is:
You now know how to crochet your own balaclava! This is a great project for beginners that will keep you warm and stylish while also allowing you to be proud of your skills. Grab some yarn and a hook and try it out. You’ll be surprised at how fast you can make your own balaclava.
FAQs – How to Crochet a Balaclava
Yes! A balaclava mostly uses simple stitches like chain, single crochet, and half double crochet. With some patience, even beginners can make one.
On average, it takes 4–6 hours depending on your skill level, yarn type, and design. Beginners may take a little longer, but it’s a fun weekend project.
Medium-weight yarn (like acrylic, wool, or blends) is best. It’s soft, warm, and easy to work with. For extra coziness, choose chunky yarn.
Yes! You can freehand a simple design by measuring your head and working in rounds. However, using a pattern makes it easier, especially for beginners.
Absolutely! You can add stripes, pom-poms, different colors, or even embroider designs for a personal touch.
Yes, they’re great for keeping your head and neck warm. For extreme cold, use thicker yarn or layer your balaclava with a hat or hood.