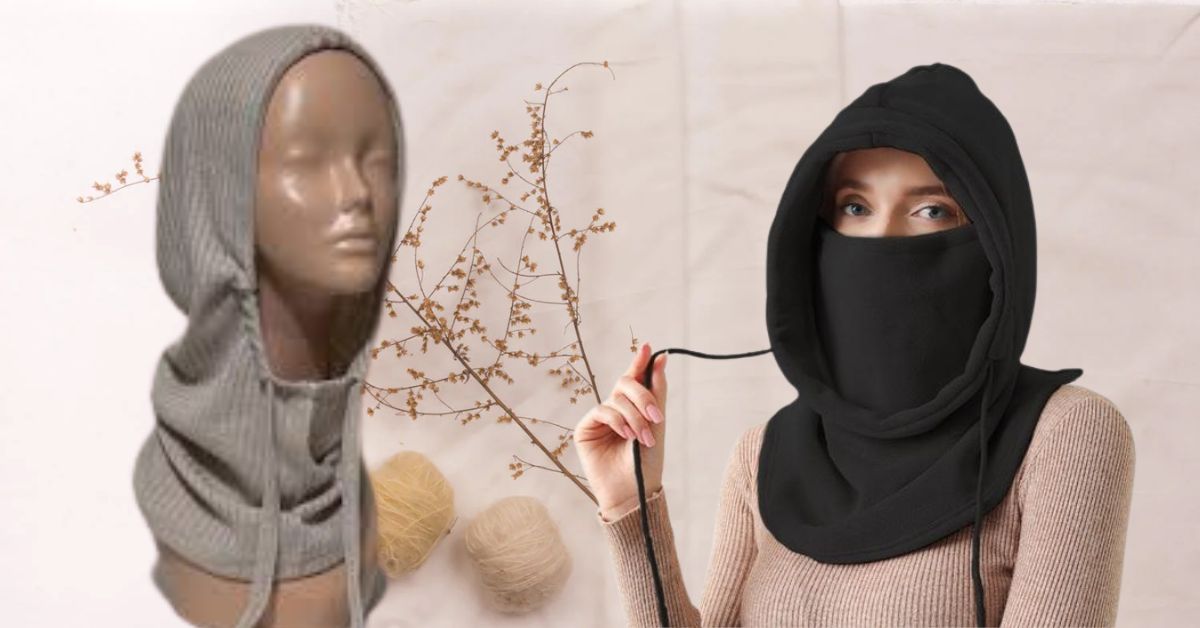
DIY Winter Style: Creating a Balaclava with Scarf
During winter, the frosty winds and snow storms can be brutal. You need to accessorize in a way that keeps you stylish and warm. One winter essential is a balaclava – a scarf that integrates a hoodie. It acts as a scarf, while providing full protection to your neck, face, and head. Indeed, a lot of ready-made balaclavas are available to buy, but have you ever considered making your own? Learning how to make a balaclava using a scarf is indeed an ingenious style hack. Now not only will you have an exceptional accessory, but you will also be able to make it custom-tailored to your unique style. Let’s explore the step-by-step guide to creating your own custom fitted balaclava, how to select the right materials, and the advantages of this DIY winter accessory.
Why You Should Create a Balaclava with a Scarf
Before going through the instructions for making a balaclava, let’s examine the benefits of why creating one is a good idea. Making a balaclava with a scarf: easy DIY winter style, has several benefits:
Personalization: By making your own balaclava, you are able to control what fabric, design, and fit you want. You can pick the color, or the pattern, and even the texture that matches and meets your interests.
Affordable: Buying custom balaclavas could get pricey, especially if you are searching for quality materials. Creating your own will keep your cost low while still ensuring it is durable and will serve its purpose for many seasons.
Less Impact on the Environment: If you are using materials that are eco-friendly or repurposing a scarf that you already own, it allows you to reduce waste. DIY fashion reduces the impact on the environment.
Comfort and Warmth: Creating a balaclava ensures that your needs are met. You can make sure that it is snug, yet breathable, allowing warm comfort without the wearer being too hot.
A Fun Project: DIY projects are a great way to spend one’s time creatively. A balaclava out of a scarf is personal and fun to make, especially to flaunt once its completed.
A Step by Step Guide on How to Make a Balaclava With Scarf
Creating a balaclava is a simple step by step process and can even become a fun event, considering the materials are readily available. Here’s everything you will need:
A Long Scarf: Always go for a scarf which is warm and elastic. Wool, fleece and cotton are some of the most recommendable materials. The scarf should also be long enough to cover the neck, face and head.
Scissors: It is always advisable to have sharp scissors to make clean accurate cuts. This is important as it helps with the sewing of the scarf.
Needle and Thread: Attaching the edges can easily be done manually using a strong and durable thread; matching the color to the fabric would help. This can also be done easily with a sewing machine if available.
Measuring Tape: Measurement is critical, especially with a balaclava, therefore a measuring tape is a crucial item.
Pins: These flexible tools are helpful in keeping the fabric in position throughout the sewing process. Smooth seams can easily be achieved, and edges can be matched and aligned perfectly with the help of pins.
Iron: A balaclava can only be worn if all of its edges are neat, clean, and devoid of wrinkles. This is why it is crucial to iron and press each piece of fabric prior to sewing to ensure that everything glides along seamlessly.
There’s nothing overly sophisticated in the list of materials above, but they’re all that you need to prepare a sophisticated balaclava for the winter season.
A Step By Step Guide On How To Make A Balaclava With Scarf: Easy DIY Winter Style
Step 1: A Guide On How To Choose The Perfect Scarf
The guide on how to make a balaclava with scarf: easy DIY winter style will be incomplete without addressing step one – finding the perfect scarf. Choosing a scarf that is too thick or thin can be detrimental; the former is uncomfortable while the latter does not provide adequate warmth. The best option for wearers is a scarf that manages to be both hot and breathable at the same time. If sustainability is a priority, consider choosing a scarf made from organic cotton or bamboo fabric, but wool and fleece will keep you warm while their porous nature means moisture will escape.
You’s gonna need at least 60 inches long scarf in order to get a complete coverage balaclava. With more length comes more creative possibilities.
Step 2: Take the Measurements and Alter Your Scarf
Use the measuring tape and measure the length and width of your balaclava before diving into the actual craft work. Ideally, a scarf comes in the width of 10-12 inches and should be of sufficient length to cover your head and neck; approximately 60 inches long.
Grab fabric scissors and cut the scarf to your desired measurements. It must be straight and even. If the scarf you are using has a tapered edge, you can avoid hemming later on, but if it has raw edges, make sure to finish them.
Step 3: Folding it Right
Folding the scarf increases it’s thickness, thus provides more protection to the balaclava.
If you’d like your balaclava to be more snug-fitting, try folding it tighter. A more relaxed fold will result in a more baggy and less fitted look. Making a balaclava with scarf: easy DIY winter style, it is very easy because you can adjust it to your liking.
Step 4: Pinning the Edges
At this stage you want to get the fabric ready for sewing. The first step is to pin the edges to each other and make sure that the ends are perfectly aligned. When sewing, ensure that the edges of the scarf are firmly pinned into position. Make sure that all the edges are properly aligned as this will ease the sewing process and enhance the appearance of your balaclava.
After the scarf is pinned into place, try the balaclava on to see if it goes over your face and neck comfortably. If necessary, reposition it lightly before proceeding to the next step.
Step 5: Finishing with Edge Sewing
Finish by sewing the edges of the scarf. Whether using a sewing machine or needle and thread, don’t forget to sew along the edges that were pinned down. Stitches should be tight and evenly spaced so the balaclava does not fall off during use. While a straight stitch is better for a smooth finish, a zig-zag stitch would provide extra strength. Make certain that you leave an open gap at the top of the scarf so your face can fit through. You have the liberty to choose the size of the gap depending on the amount of face exposure desired. Opting for smaller openings allows for maximum face coverage whereas larger gaps make the scarf more breathable.
Step 6: Hemming the edges for the clean finish
With the edges sewn, you need to add a clean and polished touch which comes in the form of ironing. For this step, fold the edges of the fabric up by at least 1/4 inch and sew it tightly downwards. Following these steps will ensure the fabric does not unravel while maintaining a clean appearance on the DIY balaclava while also providing a better look.
If the fabric you are working with is prone to fraying, use either fabric glue or a fray check product to seal the edges. This will keep loose threads from unraveling while you are wearing the balaclava.
Step 7: Adding Personal Details
After completing the balaclava, you can customize it with any features you want. Think of adding an embroidered design, some fabric patches, or even some decorative stitching on the borders. This will not only set your balaclava apart, but also give it a stylish flair.
Also, if you wish to provide extra warmth, you may also add a lining inside the balaclava. For additional comfort, line the interior of your DIY balaclava with soft materials like fleece or cotton.
Putting on and Styling your Balaclava
After crafting your very own balaclava, it’s time to discuss styling tips for your new accessory. Depending on the look you want to achieve, a scarf-style DIY balaclava can be worn in a number of different fashions.
Under Coat or Jacket: This is the most popular way to wear a balaclava. You can simply tuck the end parts into your coat, which is a functional way to wear it. This style is striking and keeps you warm.
Over a Jacket: Flexibility is the goal, so leave the ends of the balaclava hanging outside your jacket for an effortless look. This style works best for a laid-back vibe while still keeping you warm.
With a Cap: For extra warmth, you can complement your DIY balaclava with a winter hat or a beanie. The top of your head will be warm with the hat and your neck and face will be protected by the balaclava.
A Statement of Fashion: The balaclava that you design yourself is the one that allows you to remain warm while being bold with colors, patterns, and different styling ideas that you choose.
Advantages of Making Your Own Balaclava
Making a DIY winter style with a scarf offers numerous advantages like:
Customization: You can tweak every area of your balaclava starting from the fit to the fabric that is going to be used.
Cost-effective: If you compare designing yours to buying already made high-end balaclavas, then yours would be much more affordable.
Sustainability: This project becomes eco-friendly with the use of recycled or organic fabrics.
Warmth and Comfort: You can ensure that the balaclava fits your needs perfectly, making sure it provides maximum warmth while remaining comfortable.
Fun and Creativity: Self-made fashion pieces can be enjoyed as a DIY project and serve as a great way of self-expression.
Conclusion: Stay Warm and Stylish This Winter
An example of a rewarding project is learning how to make a balaclava with scarf: easy DIY winter style. This project not only gives a snow accessory, but also inspires creativity and the opportunity to personalize one’s appearance. A few simple steps results in a fashionable balaclava that will provide warmth and style for the whole winter.
Next time you feel winter’s chill, craft your very own balaclava and step out in style. Not only will you look great, but you can take pride in knowing that you handcrafted it. Grab a scarf, and let’s craft your new favorite winter accessory!


